Create Batch Dot Bat File to Run Your Python Script With Windows Scheduler
After writing your script, you might want to schedule it to run periodically, let’s say, Daily, Weekly or Any Time interval you will decide
Before you schedule that you want to simply create a batch file and schedule it run with a Windows Scheduler.
Here are simple steps to do that.
- First of all, if you want your script to run with a particular Python version you can decide that by declaring shebang line. For instance , if you want your script to run with Python 2.7 , you shebang line will be #! python2.7
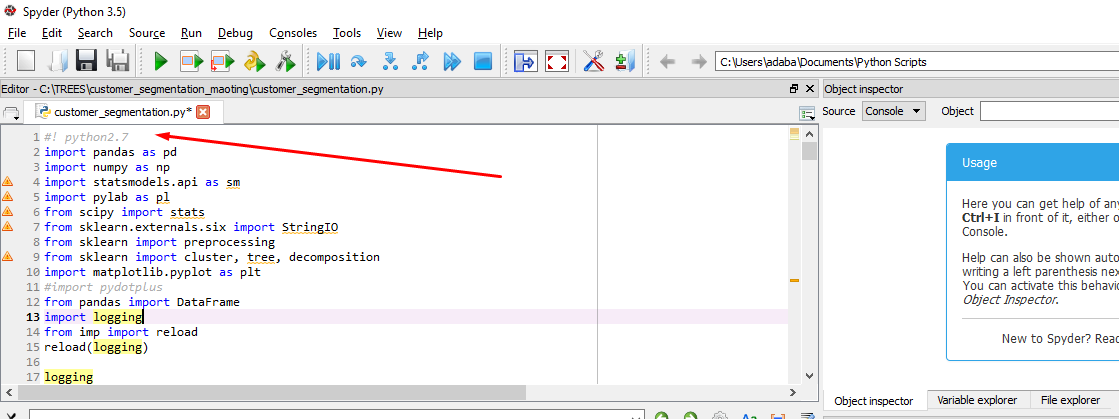
- This will ensure that your script runs without breaking due to any different Python version
- To create a batch file, simply open a new Notepad and
- Type the following echo C:\Users\adaba\Anaconda3\envs\gl-env\python.exe C:\TREES\customer_segmentation_maoting\buyer_behaviour_analysis.py %* PAUSE
- The echo will print out what is being executed, in this case our python script file being called and the results
- The first file path is the file path to the Python executable which want to use to run the Python script . (In my case , it is Python 2.7 as I have different versions installed)
- The second file path is the path to the Python script we want to run which in this case is buyer_behaviour_analysis.py
- The PAUSE will hold the command prompt open even after the file finishes executing and you can press any key to exit the command prompt window afterwards
- The echo and PAUSE are optional. You can ignore the PAUSE and the command prompt will close automatically once the script finishes running.
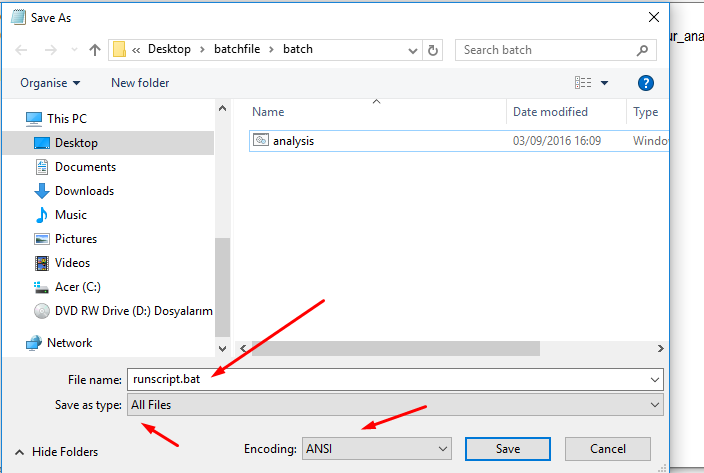
- Now save the file with .bat extension. eg runscript.bat
- You can test the batch file to see if it works by double click on it.
- Now that it works fine. You can schedule Window’s task for it to run periodically
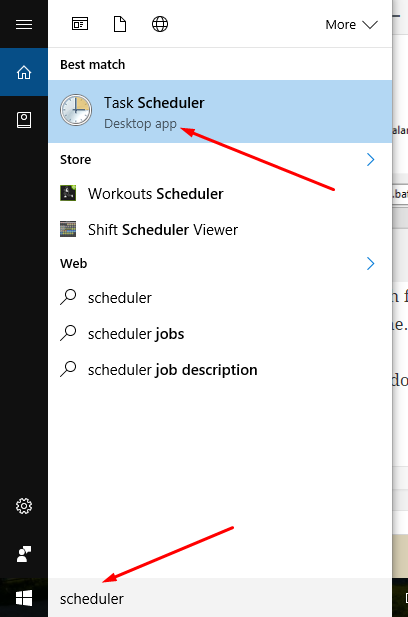
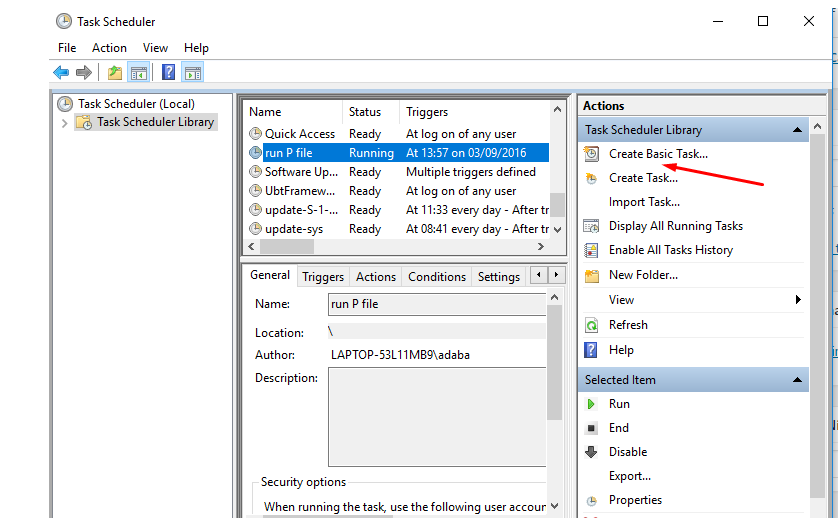
- To do this , go to windows Scheduler by typing scheduler in the start menu search box
- Create a basic task
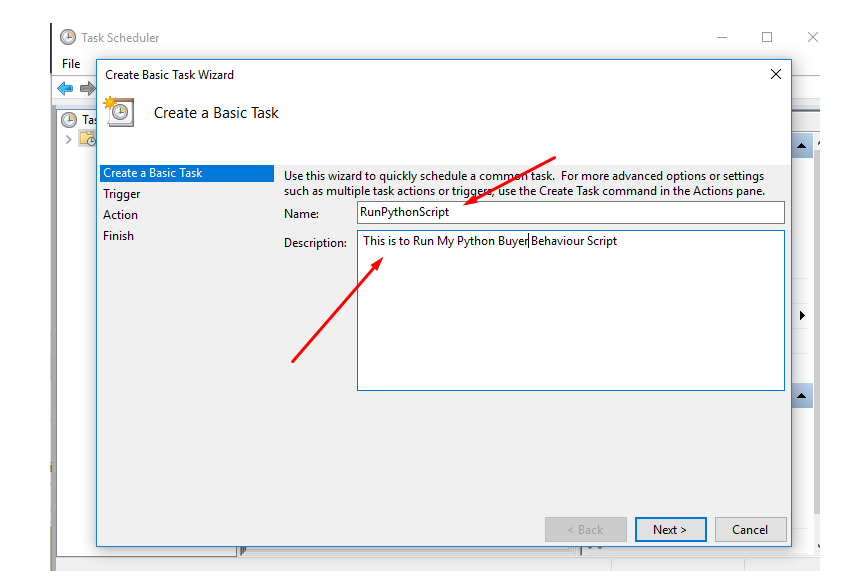
- Give it a name and description
- Select the PERIOD you want it run, whether, DAILY, WEEKLY, ONE TIME, etc
- On the NEXT TAB Set the DATE and TIME
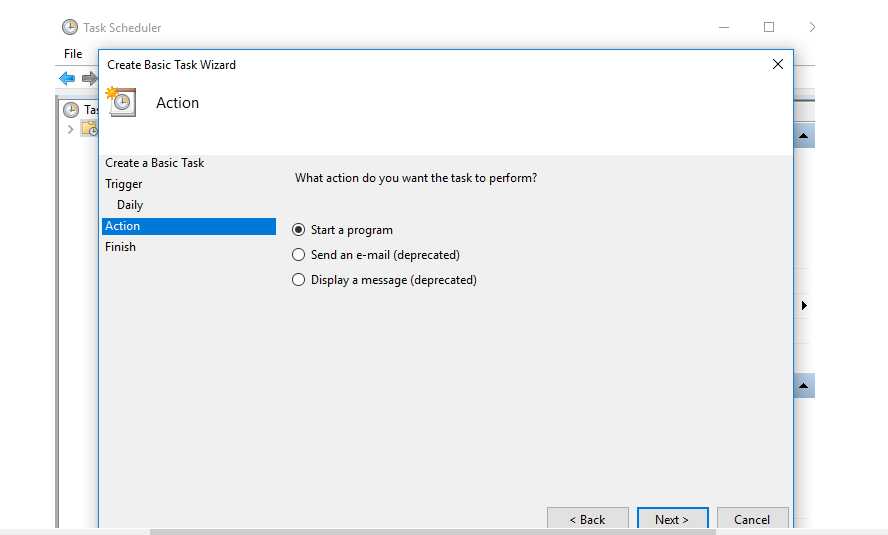
- On the NEXT TAB , what action you want to do, choose Start a Program
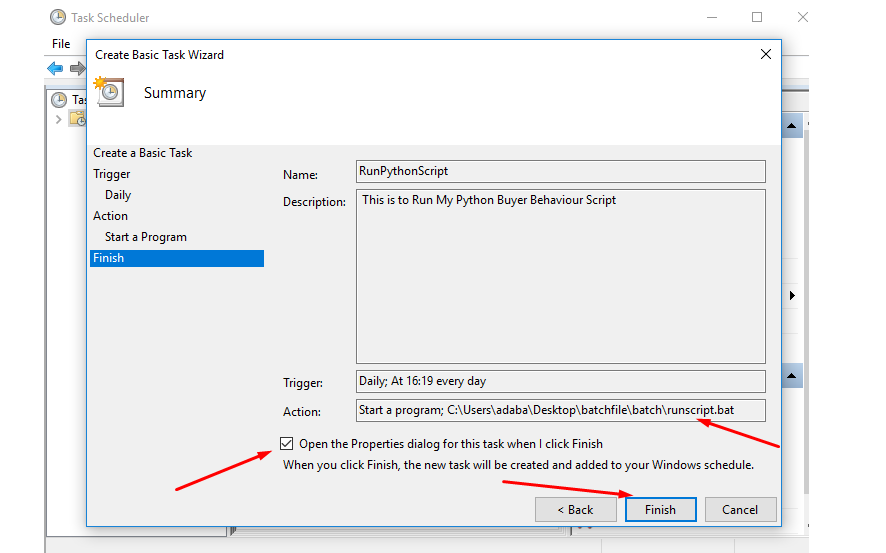
- On the NEXT TAB , BROWSE to the BATCH FILE you created; runscript.bat and select that.
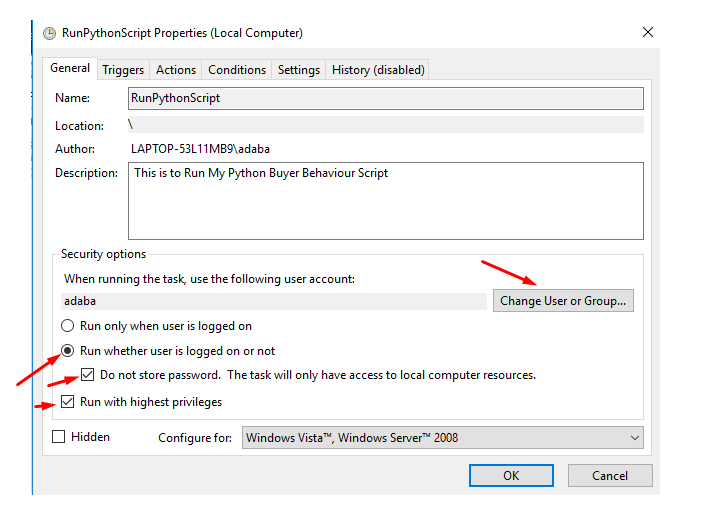
- Make sure to tick the “Open the Properties dialog for this task when I click Finish” on the next tab and click Finish. (The open the properties dialog will allow you to do some further configurations. )
- One configuration you would want to choose is to click on the CHOOSE USER or GROUP button in addition to the other ticks as shown in the image below
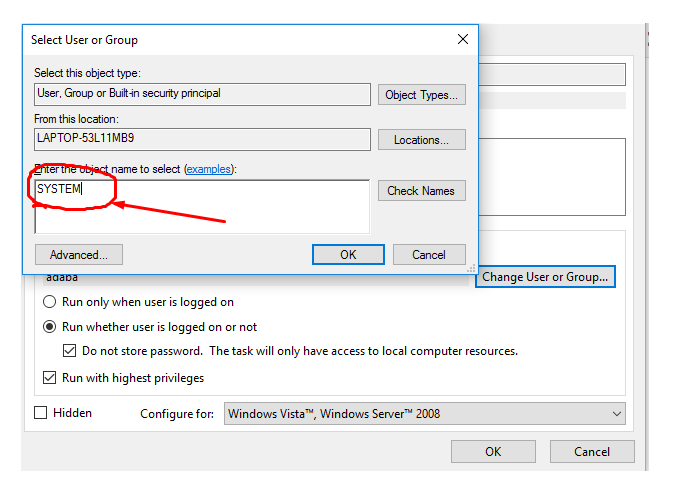
- In the popup window from the CHOOSE USER or GROUP, type the user as SYSTEM. This will allow the script to be run by system and it will not output any code or results to the user’s console. It will basically run the whole script in the background till completion. (It will therefore be ideal to have a logging system in your script to track some events. There is a simple note on python logging here)
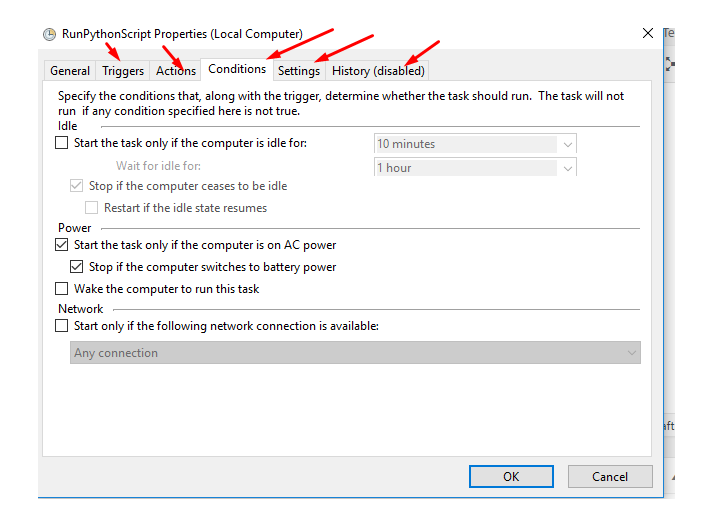
- You can continue and do some other settings as you would need by using the tabs above the scheduler
- After all settings are done, CLICK OK and your Python script is scheduled to run at the time you indicated. Keep track for the few initial runs to make sure everything is fine and you can leave it to run on its own thereafter.
- Happy batching and scheduling!
Want more information like this?